


Manage lessons
Manage lesson groups
Create, compose, and edit your student groups with ease
Group management is at the heart of organizing your lessons. It lets you create student groups suited to your resources, compose them precisely, and quickly sync everything with your booking system. Discover how to master each step, from initial creation to later changes.
Create a group
Start by accessing the LESSONS / MANAGE LESSONSmenu. You access the full management view with the list of all registrants for the selected lesson type.
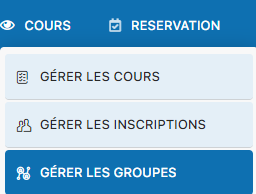
Access to the main lesson management menu
You will immediately see the list of registered students, with color codes to distinguish boys (blue) from girls (pink).
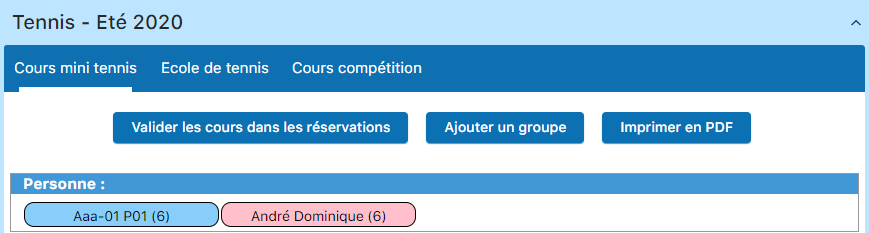
Registrants are displayed according to their gender (blue for boys, pink for girls)
Now choose the lesson type for which you want to create groups. For example, "Competition lesson".
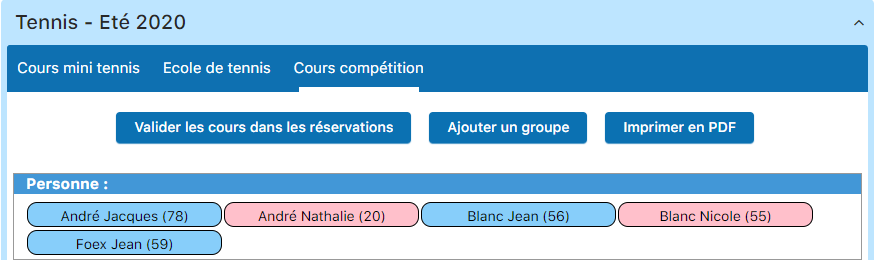
Select the lesson type to create the associated groups
Click the "Add a group". You access the creation form.
Button to add a new group
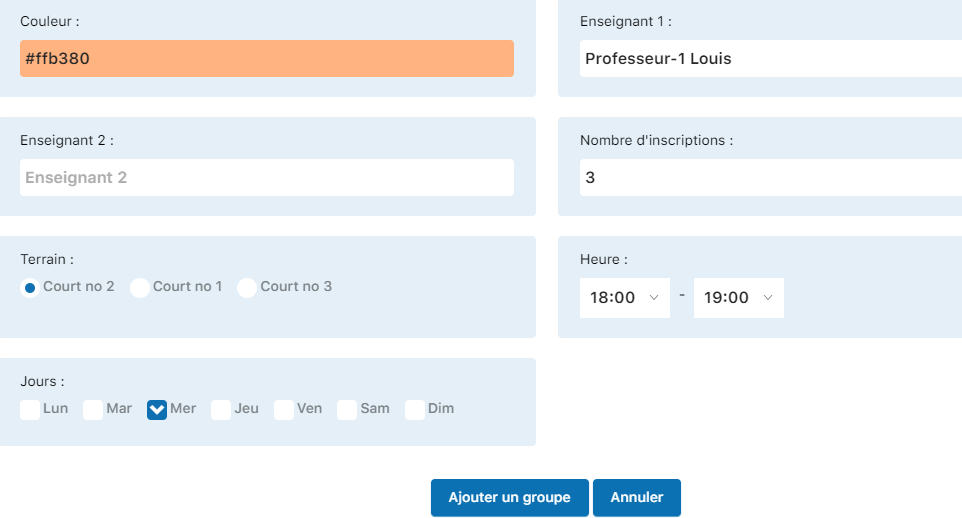
In the form, fill in the fields:
- Teacher: Type the first three letters of the teacher's name to select them
- Number of registrations: Set the group's maximum capacity (for example, 3 participants)
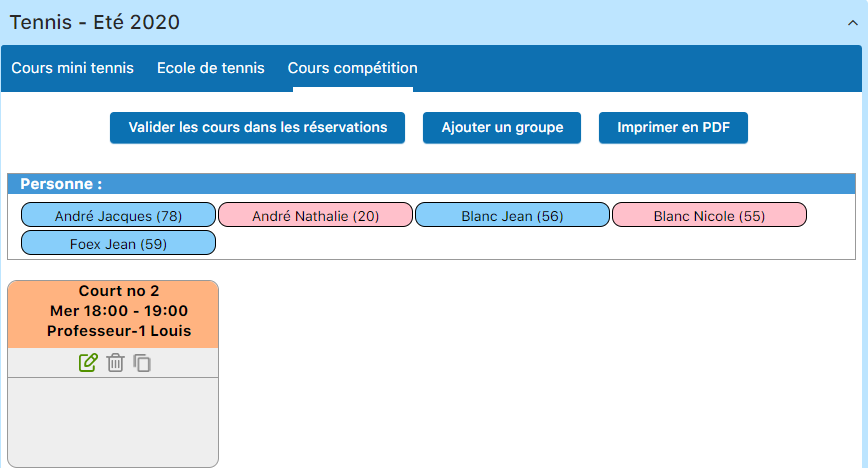
Fill in the group information: teacher and maximum capacity
Confirm the creation by clicking "Add a group". If you have other registrants to place, create a second group.
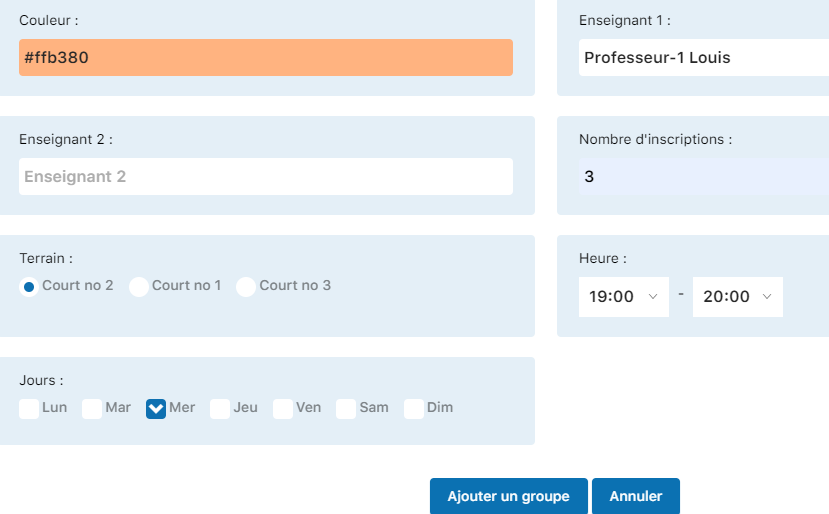
Create as many groups as needed to accommodate all registrants
Compose the groups
After creating your groups, you can assign students. First select the relevant lesson type.
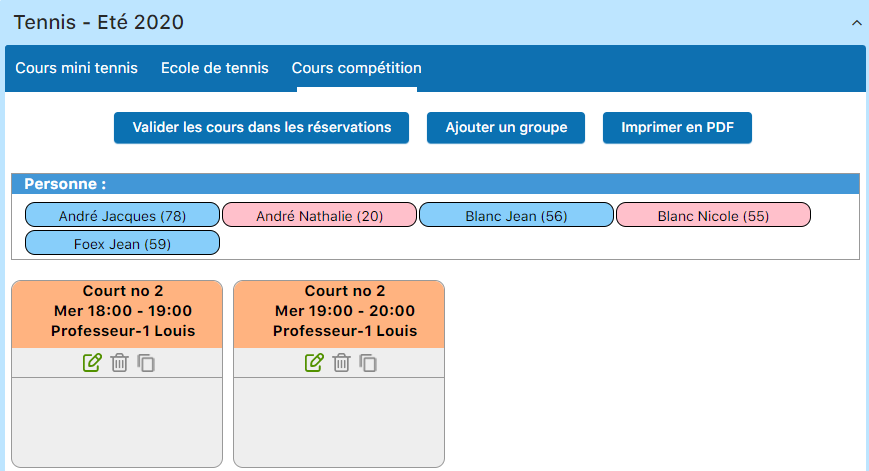
Select the lesson type before composing
Composition is done by simple drag-and-drop. You see unassigned registrants on one side and groups on the other. Drag each student to the desired group. The system automatically respects the maximum capacity set (for example, 3 spots).
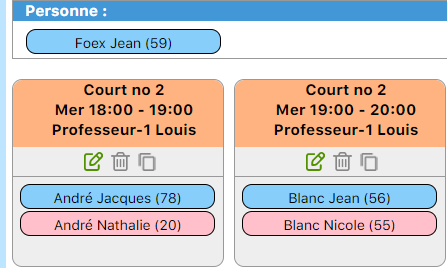
Drag and drop students to assign them to groups
Transfer the groups to bookings
Once your groups are composed, you must validate them in the booking system. This automatically creates the bookings for each student. Click "Validate lessons in bookings".
Group validation button
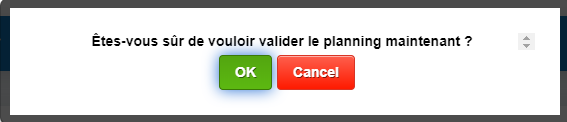
A dialog box asks for confirmation. Click "OK" to proceed with the transfer.

Confirm the transfer to bookings
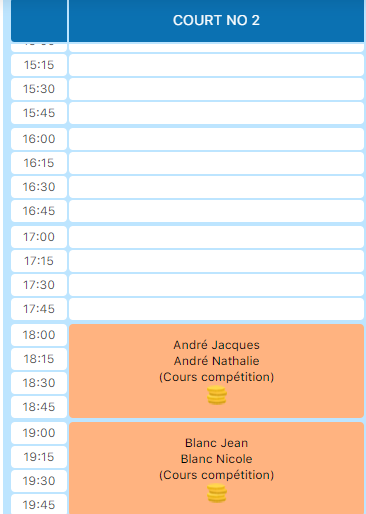
A success message confirms that the operation is complete. You will also see a green checkmark on each transferred group.
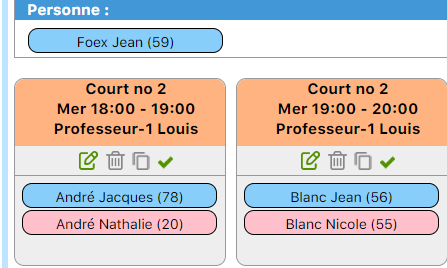
Confirmation of the successful transfer
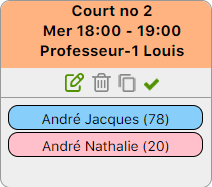
Notice the checkmark indicating that the group has been transferred to bookings:
The checkmark indicates a successful transfer to bookings
Print the list of participants
To quickly export the list of participants for a group, click thelist icon (the small sheet).
Click the list icon to export the participants
An Excel file is generated instantly and downloaded. You can view, edit, or print it for display to students or the club.

Excel file with the list of participants
Edit a group's composition
Even after transferring the groups to bookings, you can add or remove students. Changes sync automatically.
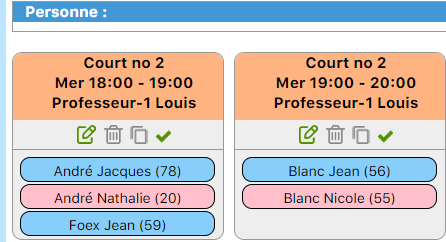
You can edit the group even after the transfer
If you add a student to a group that has already been transferred, remember to click "Validate lessons in bookings" again so that the new student is also added to the bookings.
Edit a group (teacher, color, participants)
To change the name, teacher, color, or capacity of a group, click thepencil icon (pencil icon).
Click the pencil to access the group settings
An edit window opens with all editable fields. For example, you can change the maximum capacity from 3 to 4 participants:
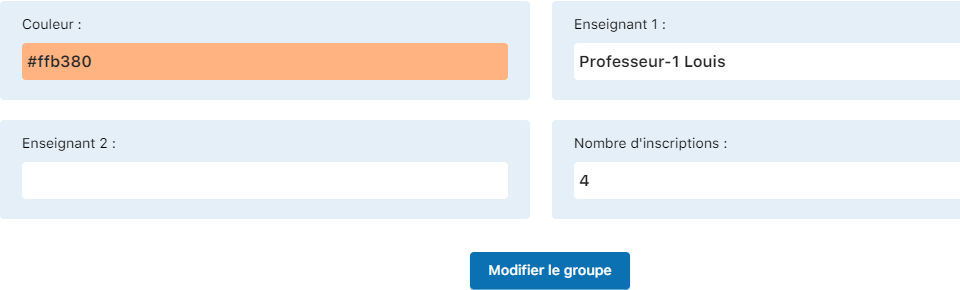
Edit all the group's settings
Confirm your changes by clicking "Edit group". The group is now displayed larger with the new information:
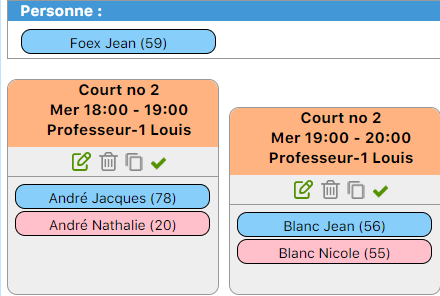
The group now reflects the changes made
Edit a group (courts, dates, times)
If you need to change the court, date, or times of a group, the best approach is to delete and recreate the group with the new information. This method ensures complete consistency of the booking system.
Delete and recreate a group
To delete a group, click thetrash icon (trash icon). This action will also delete all associated bookings.
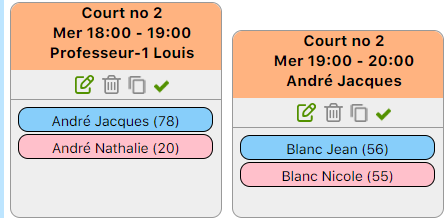
Click the trash icon to delete the group
A confirmation message appears. Click "OK" to confirm the deletion.
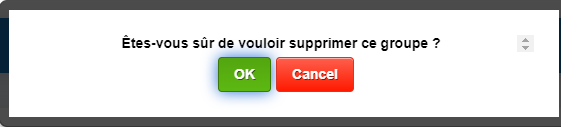
Confirm the deletion of the group
The group is deleted and the students return to the unassigned registrants area (on the left of the screen). They are no longer assigned to any group.
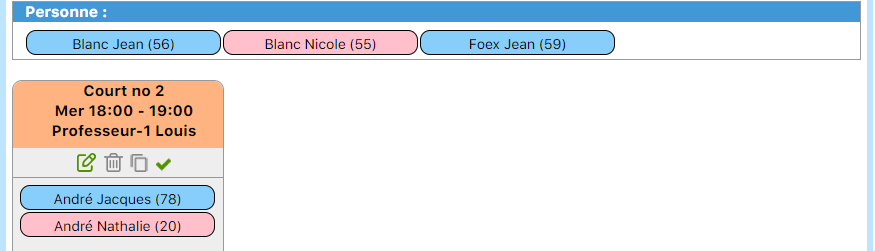
Students return to the free enrollment zone
You can now create a new group with the updated information (court, schedule, etc.). Follow the same procedure as in step 1:
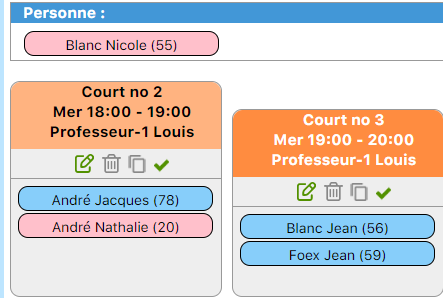
Create a new group with the updated settings
Build the group by dragging and dropping students, then transfer it to bookings:
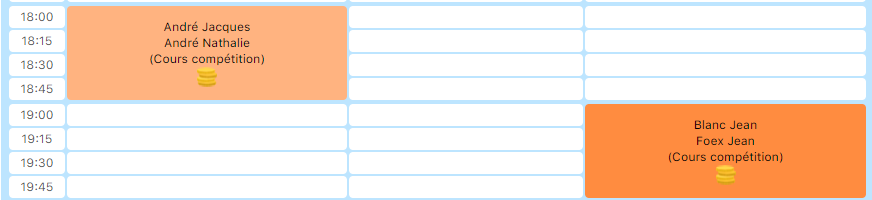
Build and transfer the new group to bookings
Delete a lesson from a group
There are two methods to delete a specific lesson from a group. Choose whichever suits you best.
Method A: Via the group
Click the pencil icon to edit the group:
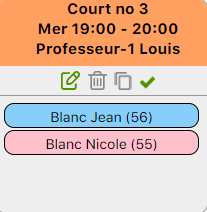
Access the group edit screen
You see the list of all scheduled lessons. Select the one you want to delete:
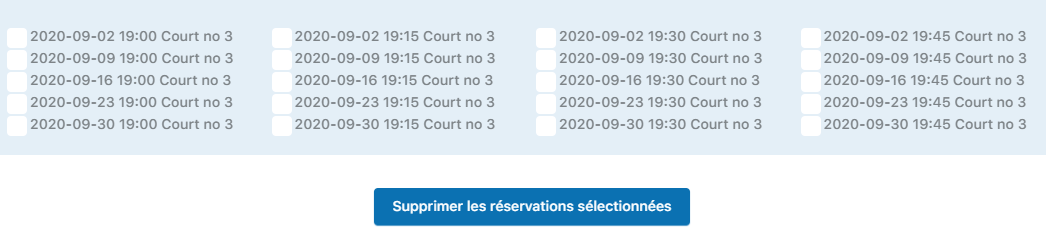
Select the lesson to delete
Click the lesson to delete:
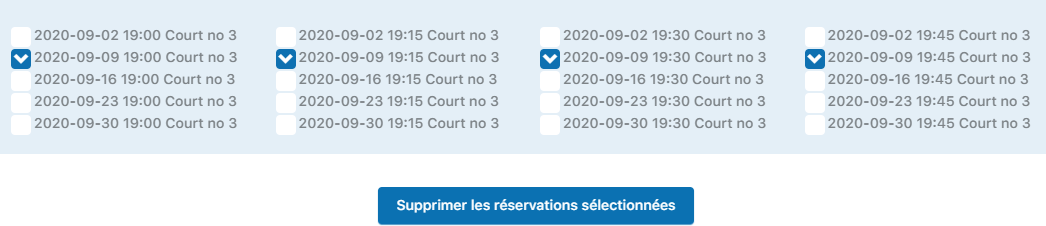
Lesson selected for deletion
Important: Bookings use 15-minute blocks. A single lesson can cover up to 4 quarters (4 × 15 min). Make sure to select all the quarters involved before clicking delete.
Click “Delete selected bookings” to confirm.
Method B: Via the booking schedule
Go to the menu BOOKING / MANAGE BOOKINGS and select the date of the lesson to delete:
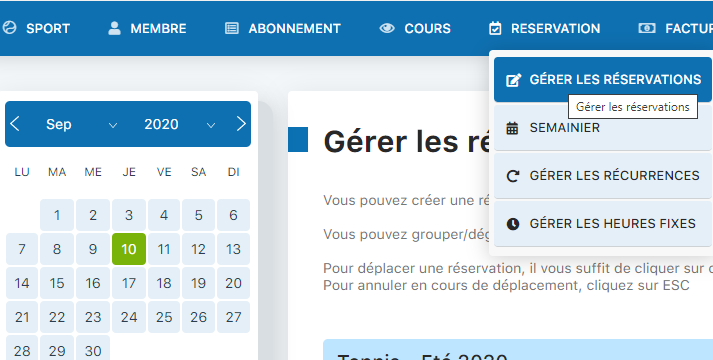
Access the booking schedule and choose the date
Locate the booking (lesson) to delete in the schedule:
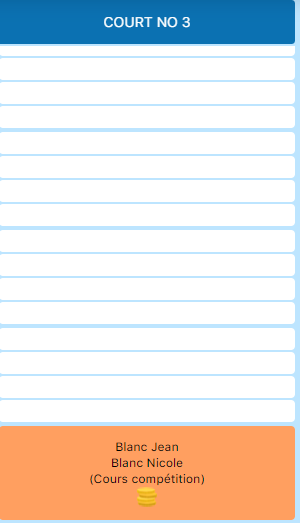
Find the booking in the schedule
Click the booking to select it:
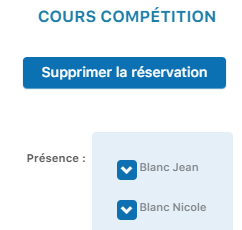
Select the booking to delete
Click “Delete booking” to confirm the deletion.
Add a lesson to a group
To add a new lesson to a group, first put the group into edit mode (click the pencil icon):
Access the group's edit mode
Enter the date and the and times of the new lesson:
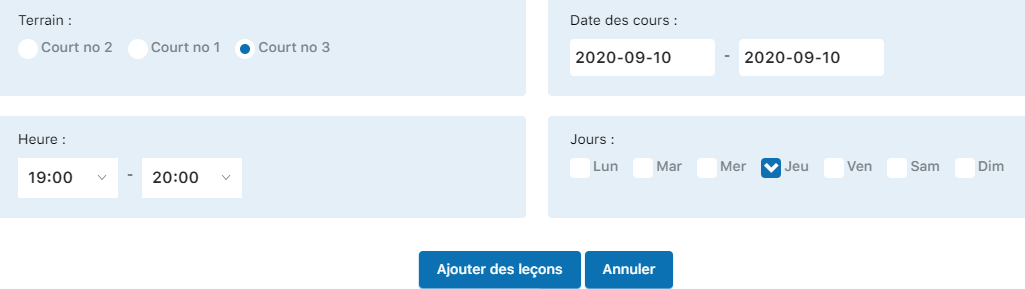
Set the date and times of the new lesson
Click “Add lessons” to confirm. The lesson is created and is automatically added to the booking schedule.

Confirm adding the new lesson
Print the teachers' schedule
To access the teachers' full schedule, go to the menu LESSONS / MANAGE TEACHER HOURS :
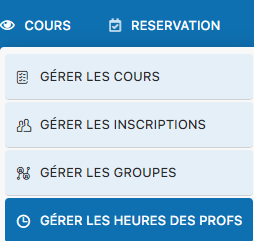
Access the teachers' schedule
You can select a specific period to display the relevant lessons. Click “Change period” :
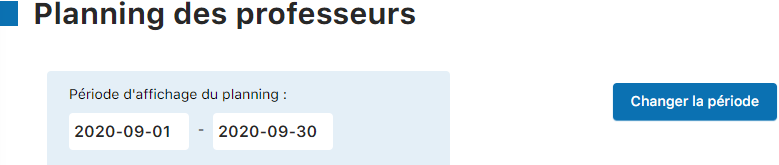
Choose the period to display
You now see the teachers' full schedule with all assigned lessons:
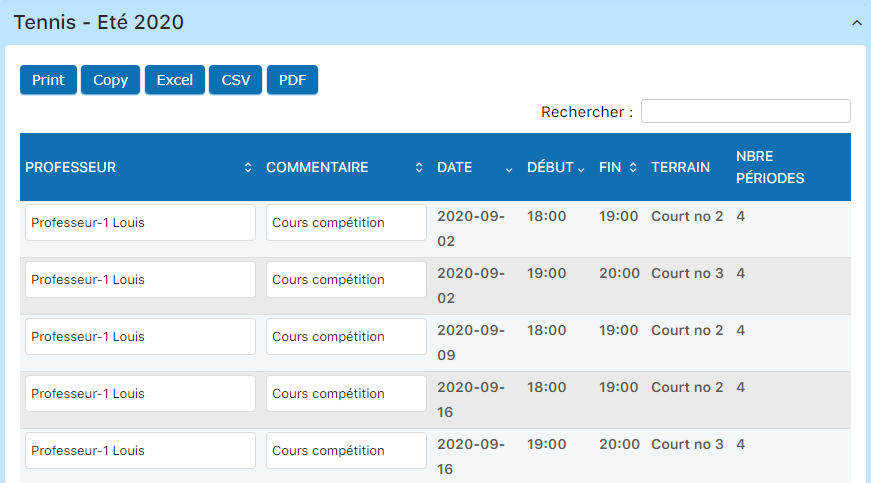
Full teachers' schedule
To export the schedule to Excel, click theexport icon :
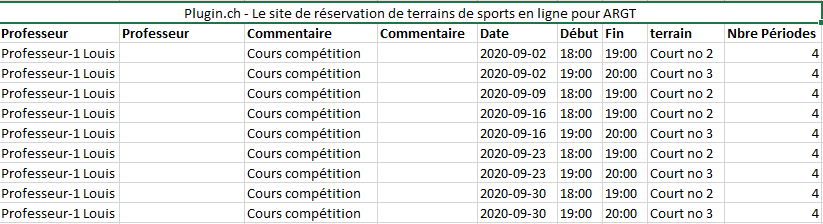
Export the schedule in Excel format
Manage attendance
To record absences, go to the menu BOOKING / MANAGE BOOKINGS :
Access booking management
Select the date of the lesson for which you want to record attendance:
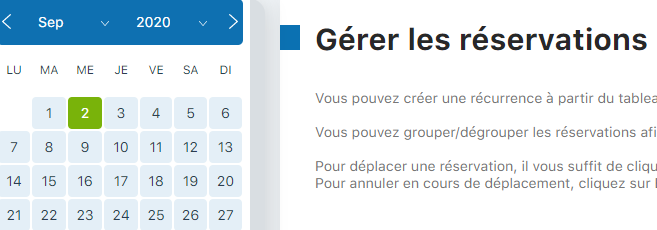
Choose the date of the lesson
You will see the schedule with the available dates. Click the desired date:
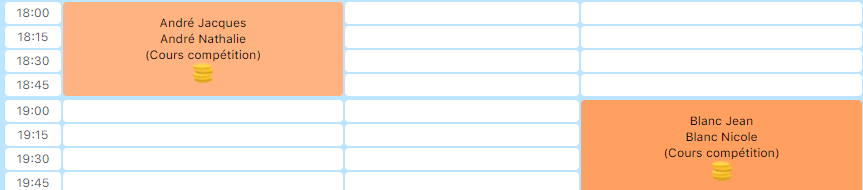
Select the exact date of the lesson
Click the lesson itself to open the booking details:
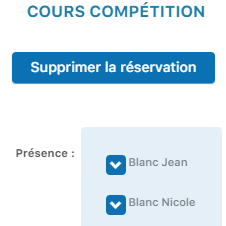
Open the lesson details
You see the list of all booked students. Uncheck the “Absence” box for the student who did not attend the lesson:
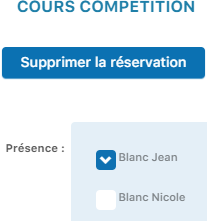
Uncheck to indicate an absence
Important tip: Simply uncheck the box. Do NOT click “Delete booking”, as this would completely remove the participant. Simply unchecking the box is enough to record the absence.
To view a summary of absences by group, go to LESSONS / MANAGE LESSONS and click the icon “List” of the group:
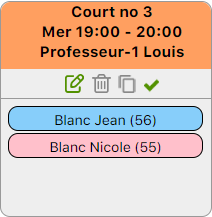
View the list of participants and absences
The generated Excel file clearly shows the absences. For example, “Blanc Nicole” was absent on September 2 at 7pm:

Excel file showing participant attendance and absences
Plugin.ch tutorial — Manage lessons